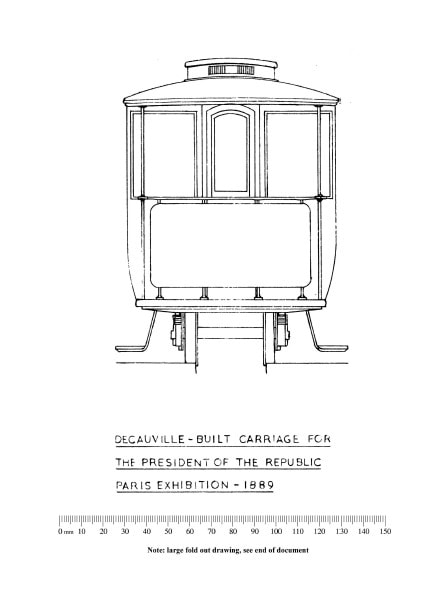
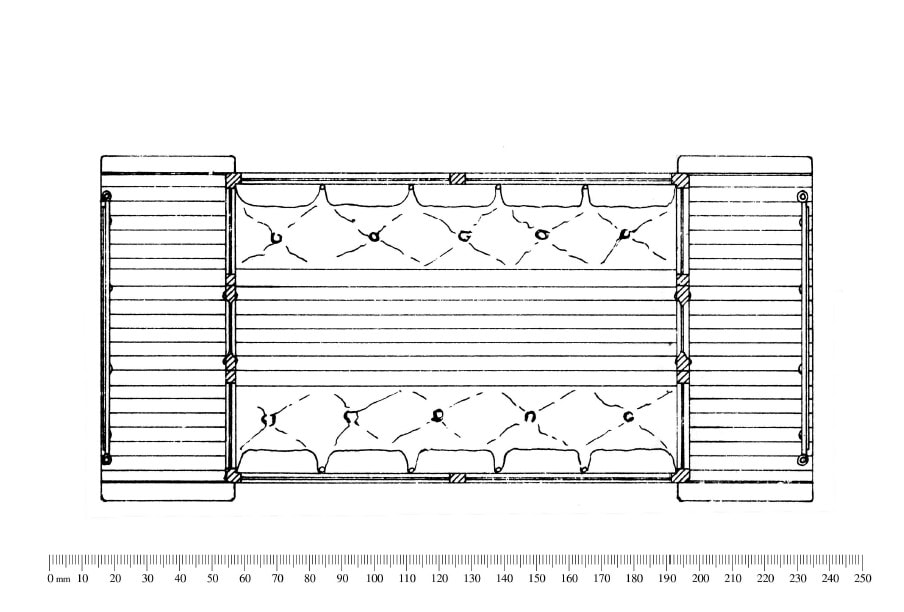
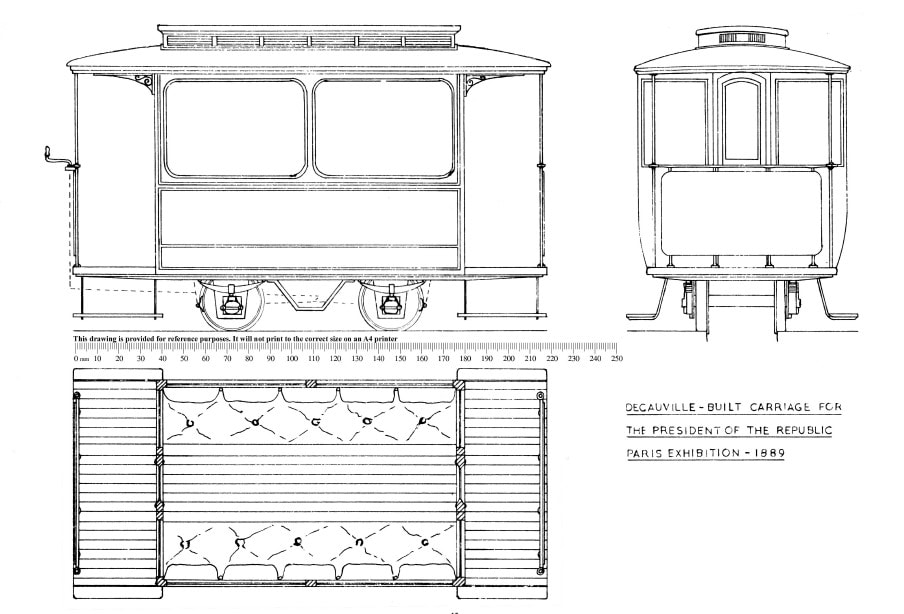
As some of you may know, one of the few rules of the Merioneth is that in order to gain full membership of the society, a person must produce a 16 mm scale model of a standard acceptable to the other full members of the society. This is the tale of my initiation... The 'Narrow Gauge Illustrated' Number 65 (Summer 1973) carried a drawing of a rather attractive carriage (A 16mm/1ft scale copy of the drawing is incorporated with this issue of the 'Mercury'). The original had been built by Deauville for the Paris Exhibition of 1889, when it was used by the President of the French Republic for his tour of the showground. I chose this somewhat unusual vehicle for my initial attempt at 16 mm modelling.
The first stage was to cut out the floor. This was made from 40 thou plastic, with a second thickness glued round the periphery in order to give sufficient depth to the balcony sole bars and headstocks. Two sides and two ends were next cut from 10 thou sheet. The ends were scribed to represent the door openings. Small holes were drilled to accept the door handles at a later date. Having by this time all four major bodywork sections, two problems remained. These were (i) how to represent the tumblehome on the body sides and (ii) how to produce realistic beading. Overcoming the first difficulty was fairly easy, if a little hit or miss: A search in the kitchen provided a china rolling pin. When the lower part of the body side had been taped to the rolling pin, and "almost boiling" water applied over the plastic, it took up the desired curvature. This was then repeated for the second side. Now all I needed was to produce some beading, a fortuitous trip to the Talyllyn enabled the purchase of some ready cut plastic strip. I discovered that by scraping a knife blade along the edges, I could produce a reasonable half-round beading. This was then put aside for application at a later stage.
The assembly of the bodywork was then commenced. The ends were glued in position on the floor with MEK. Small triangular pieces of elastic were cemented between the floor and the ends, in order to provide a more rigid structure. A batch of formers ware then produced. These had the curvature of the tumblehome along the upright edge and were used to provide the necessary strength to the body sides. The next procedure was to glue the body sides to the floor and, ends. When this had been done, and the straighteners affixed, the basic body shell was filled and rubbed down.
The beading which had been prepared beforehand was now glued to the bodywork, and the joints filled. 'Mopok' plastic rod (alas : now unobtainable) was used to represent the beading around the window apertures. I now started on the roof. As can be seen from the drawing, it is rather a strange shape to model easily. I began by cutting two 'laminations' from 40 thou plastic. The smallest lamination had a rectangular hole cut in it to provide a locating system for the larger lamination and the roof itself. All of the bodywork was then painted with much-thinned 'Humbrol' Royal Blue - about eight coats were brushed on as I didn't have an Airbrush at that stage: Glazing, interior fittings and woodwork were the next tasks to be tackled. A visit to my local glass merchant yielded an offcut of 1.5 mm picture glass for 20 pence. This was than cut to size, with two large pieces for the main windows, and six separate panes for the end doors. A sub-frame representing the droplight was glued to the body-shell prior to fixing the glass. All exposed plastic was painted with a thin coat of 'Humbrol' Tea.. The window panes were then secured in place.
Not being too happy with painted plastic for the interior, I decided to cover as much as possible with 1 mm plywood,
suitably stained and varnished. For the floor boarding, 1 mm ply was also used, scribed and coated with sanding sealer and secured in place with 'Evo-Stik' "Impact" adhesive. Seat cushions were made from red velvet donated by my mother-in-law. The droplight straps were cut from an old leather covered diary and glued in place with 'Bostik'. Only the door handles were left.
These were made from household pins, fuse-wire soldered to the head, and given escutcheons made from 'Araldite' filed to shape. The next work on the agenda was the production of the roof-supports, handrails and decency boards fox the balconies. The uprights were cut from Mercontrol copper tube, with a nickel silver handrail soldered to them. The balconies and the lowest roof laminations were then drilled out to accept the ends of the tubing, and each assembly was secured in place. This roof lamination was then glued to the main bodywork. Work on the main roof now began. It was basically made from a single slab of balsa, shaped with a small spokeshave. The corners and ends were strengthened by the use of 'Isopon', suitably filed and rubbed down to merge with the remainder of the roof. The clerestory was the sole remaining real problem. I decided to make this "in situ" on the roof, and it was fabricated entirely from plastic sheet and strip. It was painted Royal Blue to match the rest of the bodywork. For the running gear a simple perimeter frame was made from stripwood. The dummy axleguards were screwed to the frame, together with the 'sub frames' used to locate the wheelsets, since the axle diameter ( 3/16" ) was too large to be accommodated in the axleboxes in the normal manner. The frame was then located in position on the underside of the bodywork, and bolted to the floor. I decided to make the passenger steps such that they would collapse before damage was done to the coach itself (Safety Engineering?:). A bending jig was made up to produce the step-irons from thick galvanized wire. The irons were soldered to small plates of tinplate which were glued in position on the underside of the floor. Sanded 1 mm ply was then used for the step treads themselves. These were glued to the step-irons with clear 'Bostik' and axe thus easily replaceable when the inevitable happens: Just one more task remained. This was the fitting of the ornamental ironwork above the balconies. This was made by flattening 15 amp fuse-wire, bending it to the shape required and then cementing it into a frame of plastic strip. After painting Gloss Black, all four pieces of "wrought iron" (:) were secured in place between the corner posts of the body and the lowest roof lamination. When all this work had been completed (it took about a year of very part-time modelling) the coach was handed over to Ray Wyborn, who lined it out by hand with 'Liquid Gold Leaf' paint. Thus endeth the saga of how not to scratch build a model.


